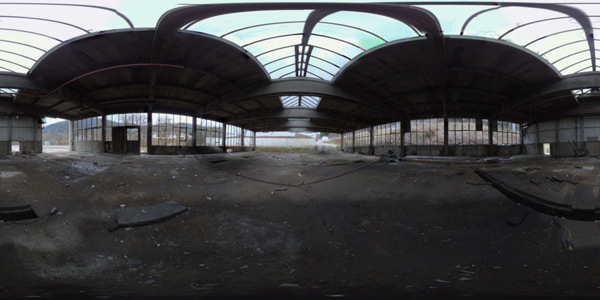
Cube Map to Equirectangular (LatLong Map)
Now and then you need to touch up matte paintings or sky domes that have been stitched from photos and thus are in a panoramic format like the equirectangular – also called latlong – format.
In these cases a useful workflow involves rendering an undistorted view using a camera with an angle of view of 90 degrees and a square film back. If you did this 6 times along each axis it would be called a cube map, but usually you only need one face of the cube for retouching and it doesn’t have to face exactly in the same direction as an axis.
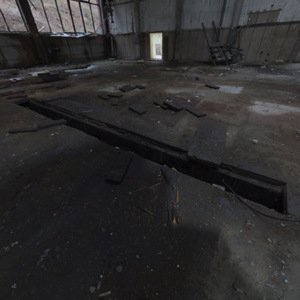
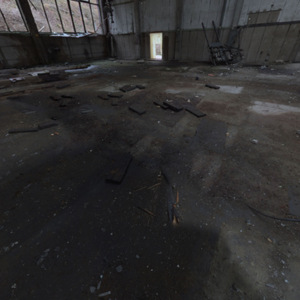
The advantage of these cube maps is that straight lines stay straight, which means you can easily use Photoshop’s vanishing point tool on walls and floors. The problem is the inverse transformation, that takes you back to a distorted, equirectangular panorama. Nuke has a nice tool called “SphericalTransform”, but Fusion users had to rely on 3rd party plugins or software like Hugin or HDR Shop.
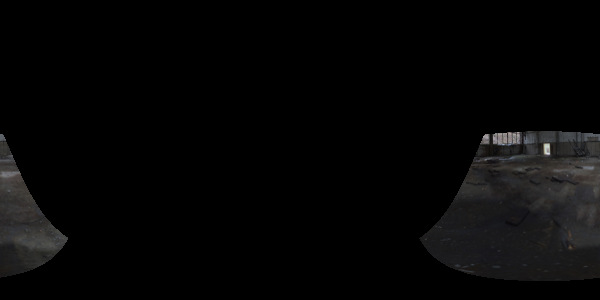
The modified cube map tile is transformed back into a latlong map.
Well, not anymore. This Fuse, called CubeToLatLong, will do the inverse transformation for you. The formulas I’ve used can be found here.
Download CubeToLatLong_v1_0.Fuse or read more about it on Vfxpedia.
Lightning for Fusion
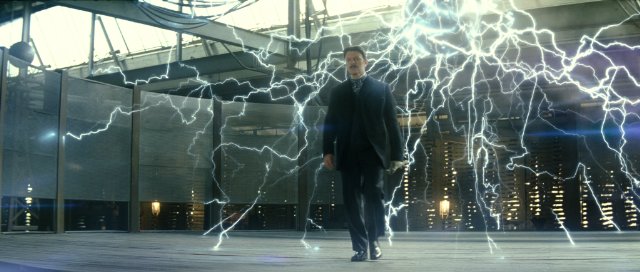
I’ve finally finished the lightning plugin for Fusion. It’s based on ActionScript code by Dan Florio. I don’t provide GUI controls for all variables though to keep things simple but there are some additions to make the plugin more useful for VFX shots.
For example, you can animate the lightning in a looping “wiggle” or crawling motion in addition to just randomizing the whole shape. Also, the direction of the lightning’s branches is biased towards the target point.
Download Lightning_v1_1.Fuse here or head over to Vfxpedia.
Here’s a short clip of what it looks like:
2D Track to 3D Nodal Pan
Here’s a pair of formulas that convert a 2D tracker’s position to rotation values for a 3D camera. Of course, this only works for nodal pans, and even in that case, it doesn’t handle Z rotation properly.
But if you have a camera that just pans or tilts, this allows you to – for example – add a 3D particle system or camera projection. The focal length can be chosen arbitrarily, as does the aperture (film back). The ratio of aperture values, however, has to match the image aspect!
In Fusion, the tracker provides an output for its stabilized position. Its zero position, however, is 0.5/0.5 which needs to be taken into account. Plus, the camera’s aperture is measured in inches while the focal length is measured in millimeters. Hence the conversion factor or 25.4. Of course, “Tracker1” needs to be replaced with whatever your tracker is called.
//X Rotation:
math.atan(25.4 * ApertureH * (Tracker1.SteadyPosition.Y-0.5) / FLength) * (180 / math.pi)

//Y Rotation:
-math.atan(25.4 * ApertureW * (Tracker1.SteadyPosition.X-0.5) / FLength) * (180 / math.pi)
Here’s an example comp for Fusion.
In Nuke, the tracker returns pixel values, so we need to normalize them to the image width. Also, the tracker needs to be switched to stabilization mode for the return values to be correct. Add these expressions to the camera’s rotation:
//X Rotation:
atan(vaperture * (Tracker1.translate.y / Tracker1.height) / focal) * (180 / pi)

//Y Rotation:
-atan(haperture * (Tracker1.translate.x / Tracker1.width) / focal) * (180 / pi)
edit: in my initial blog entry, vaperture and haperture were swapped. This has been fixed on 2011-05-15.
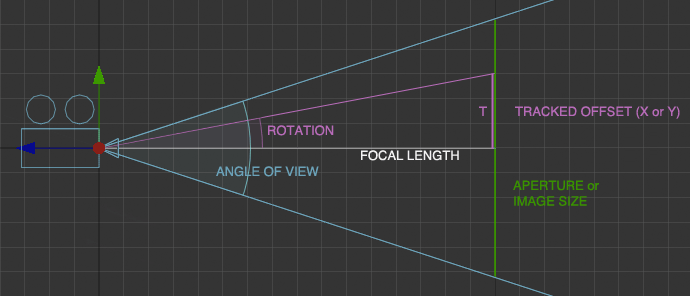
I won’t bore you with the derivation, but here’s a diagram in case you want to do it yourself 🙂
3D Colorspace Keyer for Fusion
While trying to find information about the math of Nuke’s IBK I rediscovered vfxwiki, formerly miafx.com. Its chapter on keying is quite a treasure trove of information.
I’ve implemented the formula for a 3D chroma keyer as a macro for Fusion. You can find it along with usage information on Vfxpedia.
The Keyer treats pixels as points in a three-dimensional space (HSV by default). The alpha channel is created by looking at each pixel’s distance from the reference color. Two formulas are implemented. The “Manhattan Distance” and the direct route as defined by the Pythagorean Theorem:
distance = sqrt( (r1-r2)^2 + (g1-g2)^2 + (b1-b2)^2 )
The latter results in a much softer matte that needs to be processed futher but which is perfect for semi-transparent areas or fine hair detail. Check out the example key, pulled from a free green screen plate by Hollywood Camera Work:

If green screens like this existed in real life… 🙂 I’m usually given dull cloth with wrinkles in it.
Download the macro or view the help page on vfxpedia.
Walking the Line
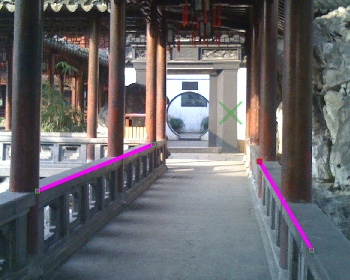 I’m in the process of writing the lightning plugin I announced recently. I’ve created a by-product today: the Lines Fuse allows you to draw one or two straight lines. The normal way to do this in Fusion would be to create a polyline mask or paint stroke and publish its end points. This, however, results in solid lines only, while the Fuse can also draw dashed and dotted ones for you!
The Fuse will also calculate the intersection point of these two lines which allows you to determine an image’s vanishing point. This could be useful in case you need to do set extensions. You can also connect another tool to the vanishing point output provided by this Fuse via the right-click menu.
Lightning Plugin for Fusion?
Watched some lightning strike reference footage and then found this lightning code for Flash. I think I’ll implement the algorithm for my next Fuse plugin after the lens flares. Stay tuned 🙂
Update: Plugin released. See this blog post for details.
Lens Flares for Fusion
Over the past few weeks I have written some Fusion plugins to draw lens flares. They are to a large degree a coding exercise, but they helped me out in one case already and every time you don’t have to switch to After Effects or Fusion’s 32bit version to use plugins like Knoll or Video Copilot’s Optical Flares for simple stuff is a productivity gain. This is an example that I recreated from a reference photograph (search for ‘lens flare’ on google images to find it).
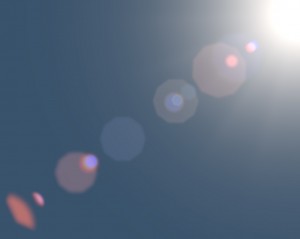
There are three Fuses that are meant to be combined:
| FlareCircle draws a single reflection of a lens flare. It’s designed after Nuke’s flare node so you can use it to really mimic an existing flare in your plate with chromatic aberration. It also provides additional position and angle outputs that you can use to track in your own lens artifacts. | FlareStar draws the center of lens flares or star-shaped glints that can be positioned anywhere in your picture. | FlareMulti draws multiple circles with random radius, hue and brightness. Instead of fading when the light source leaves the frame, the circles will vanish one after another. No need for tedious hand animation. |
All three Fuses support an occlusion mask to hide the whole thing as well as multiple merge modes (additive, screen, max/lighten). Get them on Vfxpedia! If you find them useful or have suggestions, drop me a line.
Update August 2012: The Fuses now fully support DoD.
